
How Much Should You Budget for a Storefront Sign?
Key takeaways
- Budget the whole job: fabrication, freight, electrical work, installation, permits and access equipment.
- Spend on the fascia sign first — it does the identification work — then add window and interior signs.
- Phase the project: an illuminated fascia now and a light box later beats an incomplete install on opening day.
- Measure the fascia before designing anything; letter height and depth follow the available space.
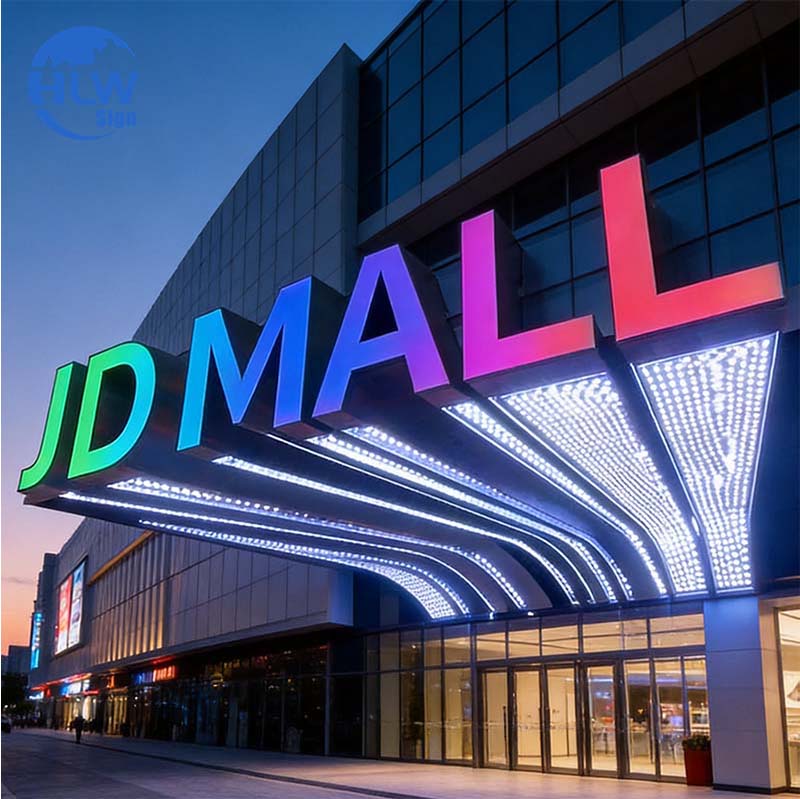
Opening a shop has a hundred costs and the sign is rarely the largest — but it is the one customers judge before they read anything else. A storefront sign budget usually goes wrong in the same two ways: the fascia is measured after the design is fixed, or the extras (electrical, installation, access) are discovered after the invoice. This guide sets out what to plan for.
Related reading: storefront and shop sign ideas · custom storefront signage products · how to measure your storefront and choose a letter height · get a storefront sign quotation
What the budget actually has to cover
- Fabrication — letters, returns, faces, lighting and wiring
- Design support — usually free with a factory order, but worth confirming
- Freight — crated letters are volumetric, so size drives shipping more than weight
- Electrical — a spur, an isolator and a timer, usually by a local electrician
- Installation — fixings, drilling, and scaffolding or a boom lift if the sign is high
- Compliance — permits, landlord approval, and any heritage or conservation conditions
Spending order: what to buy first
If the budget is limited, buy in this order. Each step adds reach, and stopping early still leaves a functioning shopfront rather than a half-finished one.
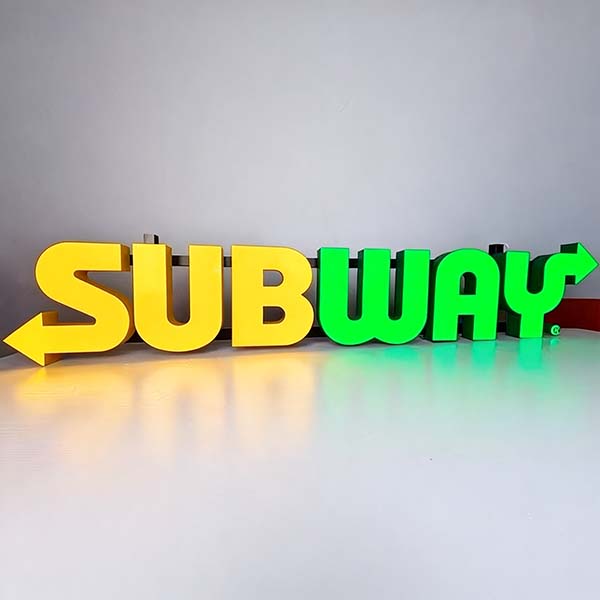
- The fascia sign — illuminated if trading hours include dusk, non-illuminated if the street is bright
- A window or projecting sign — this is what pedestrians see while walking along the pavement
- An open sign or light box — the cheapest way to answer "are you open?"
- Interior wall signs — for menu boards, service lists and the photograph customers take
Where people overspend and where they regret saving
| Line | Verdict |
|---|---|
| Letter size | Do not overspend — size follows viewing distance, not ambition |
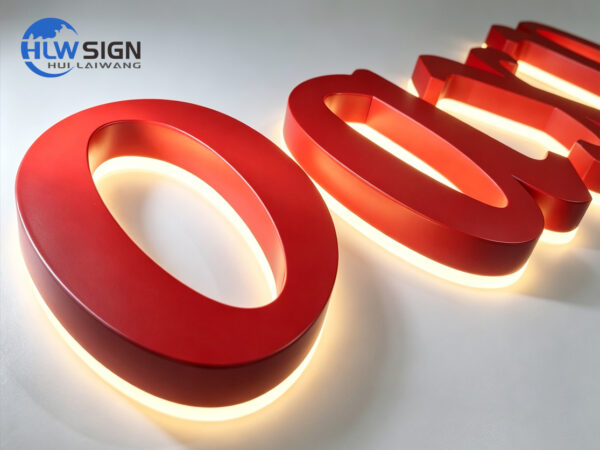
| Face material and finish | Worth the money: it is what the customer sees in daylight |
| LED and driver brand | Worth the money: it is the difference between five years and two |
| Hidden extras (electrical, access) | Budget them upfront; they are not optional |
| Too many sign types at once | Usually over-budget — phase it instead |
The most expensive mistake we see is a sign built for the wrong distance: beautifully finished letters that are too small to read from the road, or a large glowing panel on a quiet lane where a modest non-illuminated set would have looked more considered.
Phasing a project when the lease starts soon
Standard production runs 7–15 working days after drawings are approved, plus freight, electrical and installation time. If the opening date is close, this phasing keeps the shopfront presentable:
- Week 1 — confirm the fascia measurements, choose the construction and approve the drawings
- Week 2–3 — production with a 24-hour lighting test and photo approval before packing
- Week 3–4 — freight, electrical spur and installation of the fascia sign
- Later — add the window sign, light box or interior graphics as cash and time allow
Send a photo of the shopfront taken from the far side of the road, plus the fascia width and height. That is enough for a factory-direct quotation with the build written out, and MOQ is one piece.
Conclusion
Budget the whole job, not just the sign. Measure the fascia first, choose the construction from the viewing distance, spend the money on the face finish and the LED and driver brands, and phase the extras. A storefront sign that is planned this way looks deliberate on opening day and still looks deliberate five years later.
Frequently asked questions
What is the cheapest storefront sign that still looks professional?
Non-illuminated stainless steel or aluminium letters on a clean fascia, or a light box with a replaceable face. Both read well from the pavement and can be upgraded later by adding illumination or a window sign.
Do I need to budget for electrical work?
Yes, for any illuminated sign. A local electrician normally installs the spur, isolator and timer; we supply the sign pre-wired with the driver and wiring instructions.
How far in advance should I order?
Allow 7–15 working days for production after approval, then add freight and installation. For a fixed opening date, start the design at least four to five weeks ahead.
Sources and further reading
- Storefront — Wikipedia — Design context for shopfront presentation.
- Signage — Wikipedia — Overview of sign types and their purposes.
- International Sign Association (ISA) — Industry guidance for sign buyers and makers.
- Solid-State Lighting programme — U.S. Department of Energy — LED efficiency reference for illuminated signage.
External links above point to independent reference material. We are not responsible for the content of external sites.